[Part 1] Build your own personal blog using Astro
Part 1 of the Build a blog series. We will look why I chose Astro, how you can setup Astro on your machine & how to get started with Astro.
The Problem
For a long time, I had an idea of having a personal blog. While platforms like Medium, dev.to & Hashnode look promising, but as a developer we tend to have control over things that we own. Also, I wanted my personal blog to be statically generated (prerender all pages at build time). So, I can deploy it on any CDN without any need of server. So, I started to look for tools to build my own personal blog.
Gatsby was the first option I looked into. Gatsby is great if you need interactivity of React & performance. The only issue is, it is based on React. I mostly work with Vue & it is my go to frontend framework now a days. So, learning Gatsby will require learning more about React & ecosystem.
Jekyll was the second option I looked into. Jekyll is the oldest static site generator among the alternatives that I explored. It has good resources & great community support. Even Github Pages support Jekyll out of the box. The only problem it is based on ruby & I have no idea of ruby. Learning ruby will have an additional learning curve.
After Jekyll, I looked at Hugo. Hugo is very lightweight & fast. Hugo is built with Go which I’m already familiar with. Hugo seemed to be perfect for my needs. But, my only concern was if in future I wanted to introduce more interactivity in my blog, I wonder if Hugo was flexible enough to let me do it.
Why Astro?
First let me start by explaining what Astro is. Astro is all-in-one framework for building rich content focused websites. You can think Astro a kind of toolkit to which you can provide your content & it will take care of building static pages from the content, routing & much more. The Astro docs are very easy to get started. I was able to build my first page in matter of minutes.
Astro suited all my needs. Astro is framework agnostic that means I can bring in any frontend framework that I want. As I said earlier, I mostly work with Vue now a days & Astro has official integrations with Vue. I can easily use Vue inside any Astro project. Astro follows Island architecture which in simple terms means all content on page must be rendered or built on server and only the interactive javascript code show run on client’s browser. So websites are both fast & interactive at the same time.
The blog you are currently viewing is built with Astro. I used Tailwind CSS for styling & Vue 3 to built interactive components like dark mode toggle & on this page components. The entire blog content is written in Markdown.
Overview
The Build a blog series will contain blog posts on how I built this blog using Astro, Tailwind CSS, Vue 3 & Markdown and how you can create your own.
In part 1 we will look at how we can get started with Astro & some basics of Astro.
Setup Astro on your machine
In order to get started with Astro, you will require NodeJS v16.12.0 or higher.
If you want to check your node version, run the below command in your terminal.
node -vCheck if the version is higher than or equal to v16.12.0
NodeJS comes with npm (node package manager) which we can use to create a new Astro project
npm create astro@latestIf your using other package manager like yarn or pnpm, you can use them to create a new Astro project. More info here.
After running above command, you will get some interactive prompts on your command line. Just follow the prompts & you will be ready to go.
Just cd into your directory and run the below command to run your newly created Astro project.
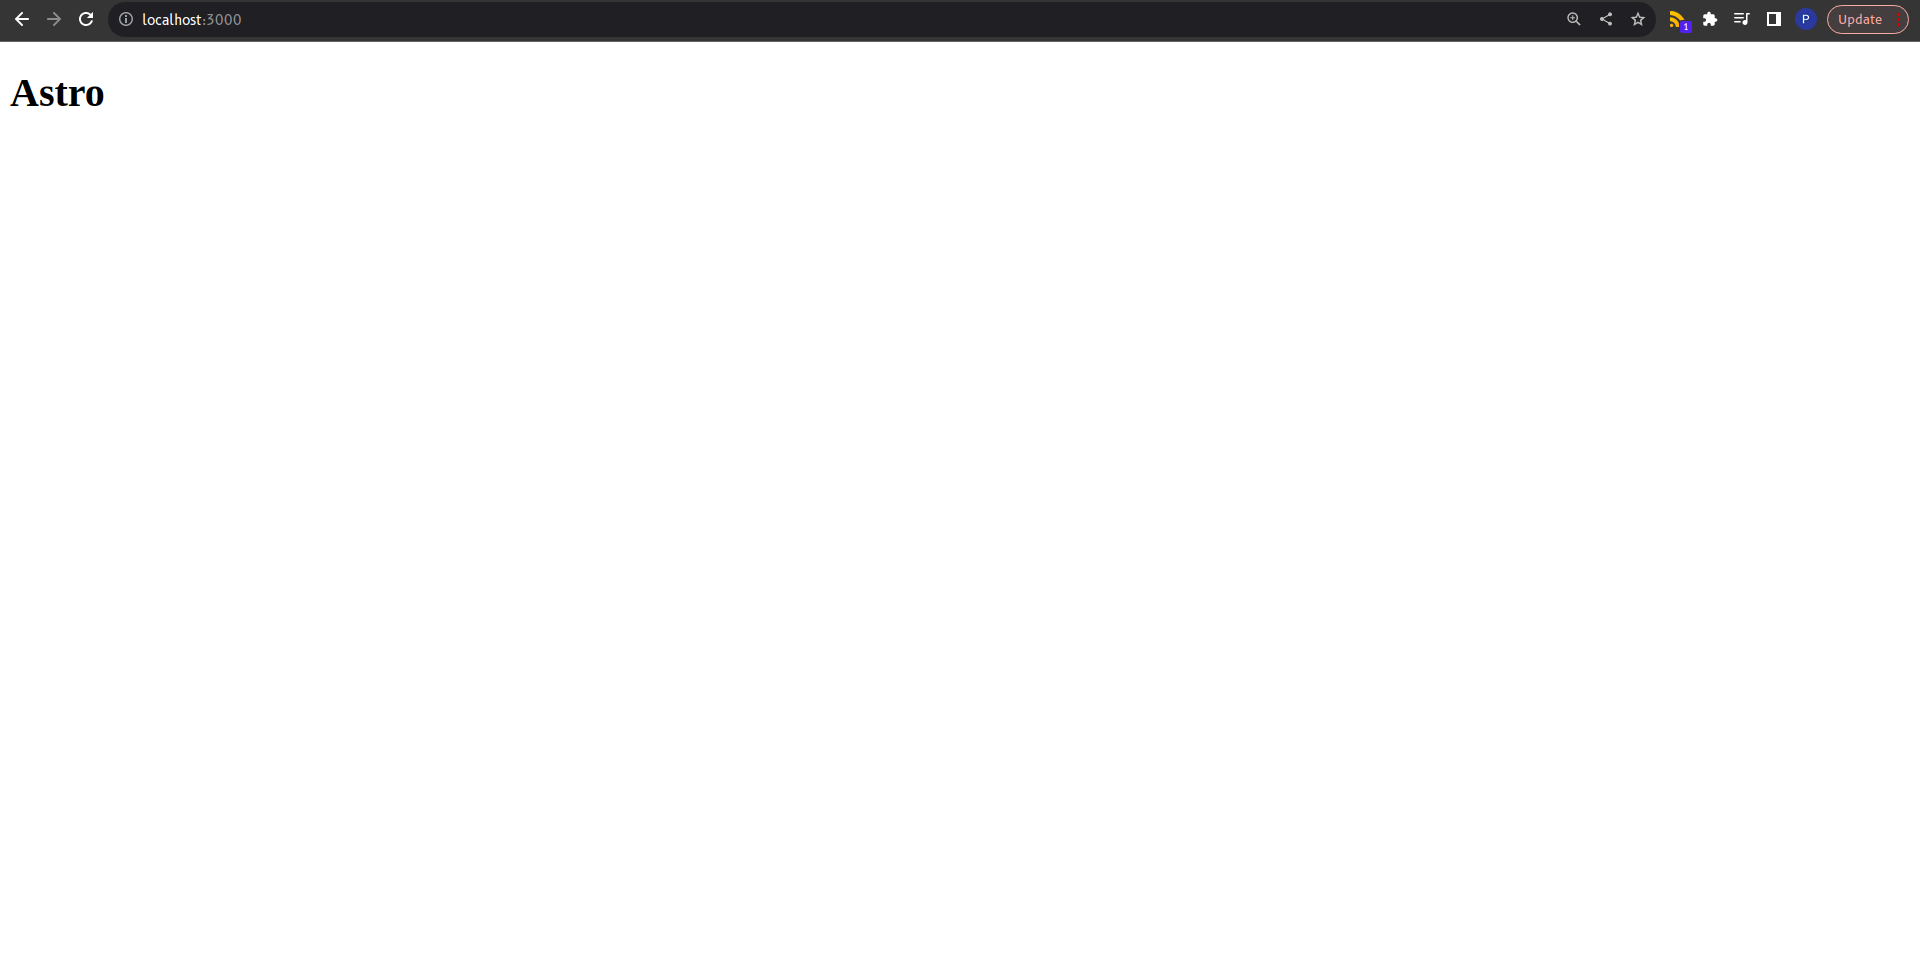
npm run devBy default, the application will run on port 3000 at http://localhost:3000/. In case if the port is occupied or busy, the application may run on a different port and you will see the corresponding port on the terminal.
Open http://localhost:3000/ on your browser and you will see the below image on your screen.
Project Layout
By default, a simple Astro project will have a structure like below.
.
├── astro.config.mjs
├── package.json
├── package-lock.json
├── public
│   └── favicon.svg
├── README.md
├── src
│   ├── env.d.ts
│   └── pages
│       └── index.astro
└── tsconfig.json
Details of each folder are described below
astro.config.mjs- Astro’s configuration filepackage.json- For tracking dependencies used in projectpublic/favicon.svg- Default favicon provided by Astrosrc/pages/- Contains all pages for applications & routing
Pages
The src/pages/ subdirectory is responsible for all pages of your application. Astro has file based routing based on the pages subdirectory.
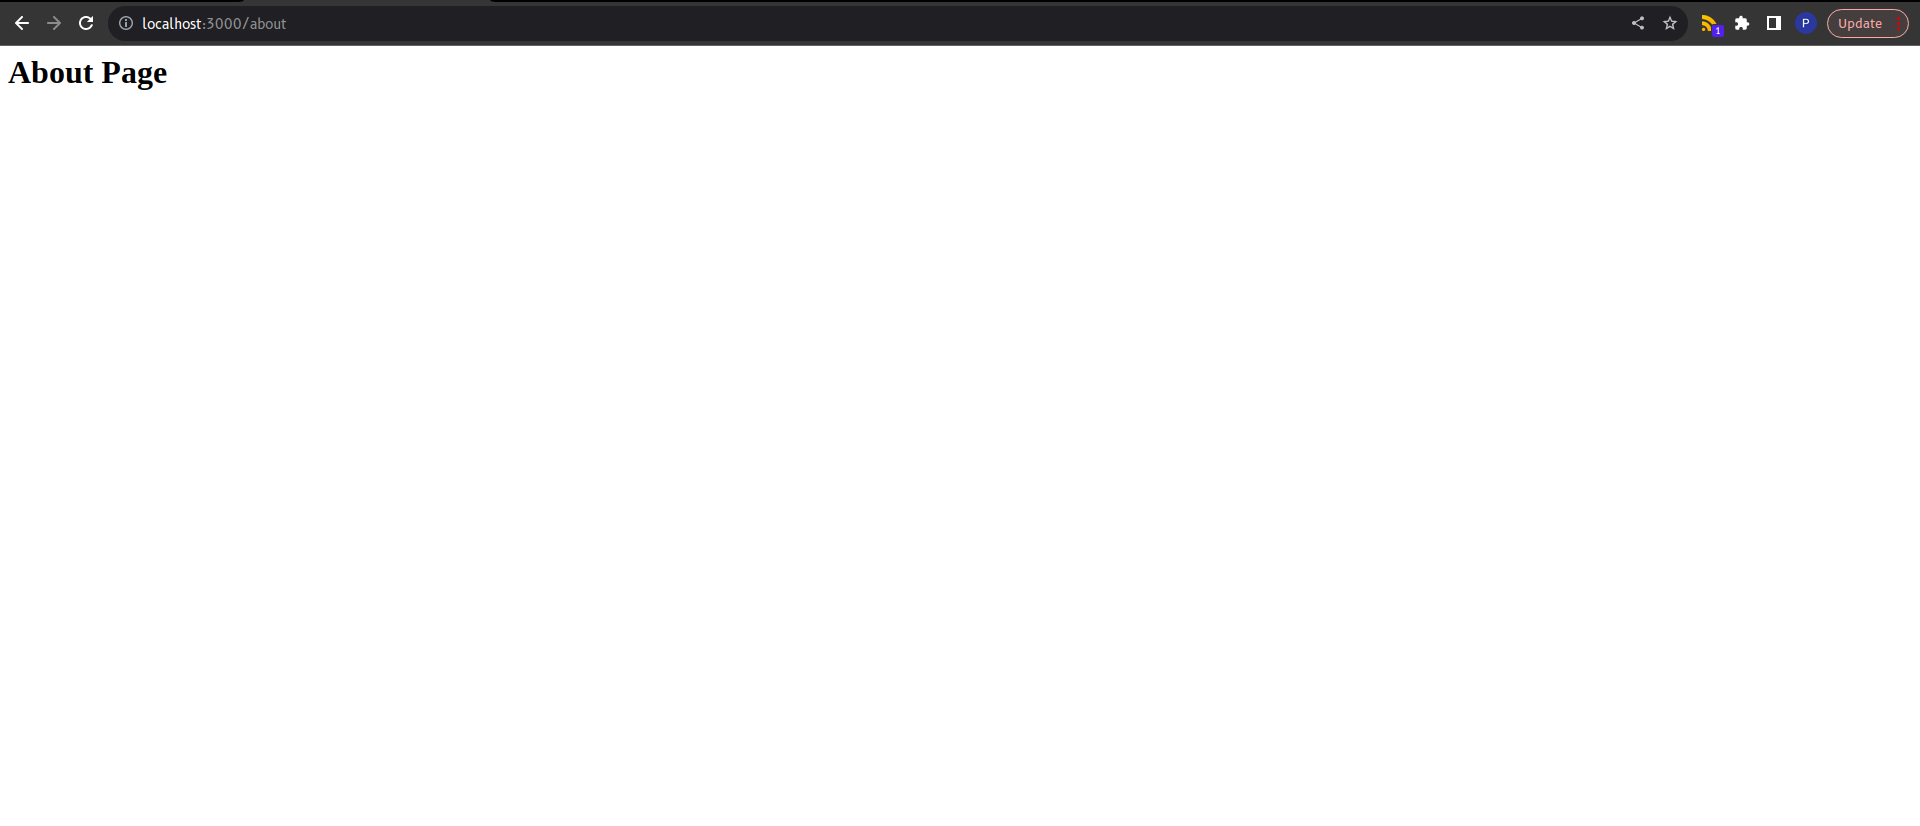
For example create a about.html in src/pages/ subdirectory, write below html & go to http://localhost:3000/about
<h1>About Page</h1>You will see the below image
Along with .html files. Astro also supports other file formats like
.astro- Astro files which have special Astro syntax which we will talk about in later series..md- Markdown files
Markdown files
Astro can read your markdown files in src/pages/ subdirectory and automatically route them accordingly. It will also convert your markdown content to appropiate html code.
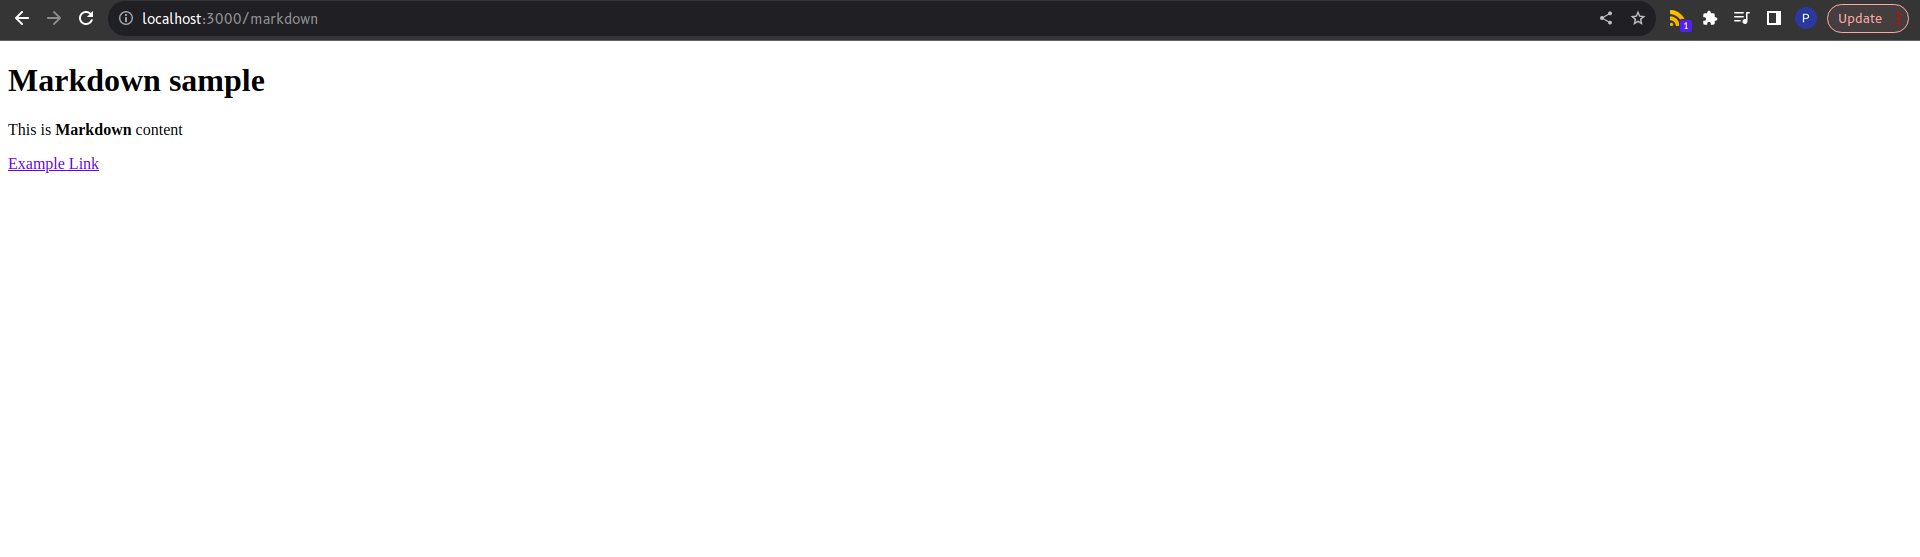
For example, create a markdown.md files in src/pages/ and copy the below markdown content and paste into the created file.
# Markdown sample

This is **Markdown** content

[Example Link](https://example.com/)
Go to http://localhost:3000/markdown, as you can see our markdown content was converted to html and properly routed without we having to write code for parsing and converting markdown files.
As you can see how easy it is build websites using Astro. But, we have just scratched the surface. In upcoming blog post we will learn about Astro files syntax & layouts. You can also subscribe to the RSS feed, so you can get latest updates from the blog.
You can find the source code for this part here.